
How to cut and prepare a shell for Club racing
It happens to all of us, there comes a time when your shell is just not cutting it any more. It may flap around as its held together with ta...
https://www.thercracer.com/2012/04/how-to-cut-and-prepare-shell-for-club.html
It happens to all of us, there comes a time when your shell is just not cutting it any more. It may flap around as its held together with tape, have cracks that dig into the carpet and make you an enemy of the club, or it just may not do that lovely chassis you have spent your cash on any justice.
So shell selected, and expertly painted by my mate Ian and lets fit it on the car!
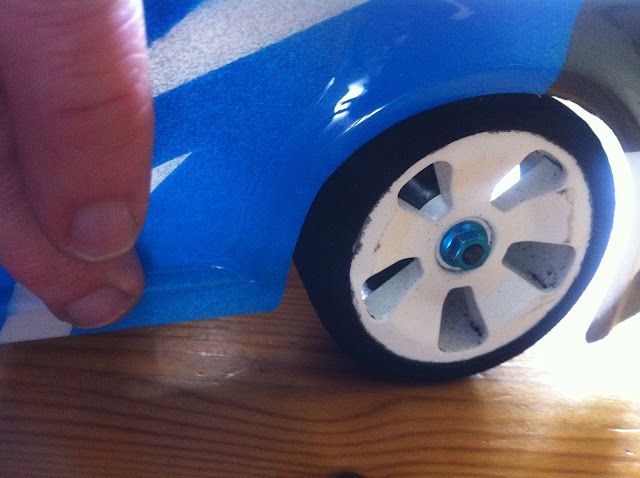
You just need to pop a little bit of black grease, or Tamiya antiwear grease on the top of the bodyposts.


Picking a shell
Making sure you have the right shell is really important. Shells, along with Tyres are the biggest things that can help tune your car. Anyone who has lost a rear spoiler whilst racing will know how large the Aero impact can be on our little toy cars.
I'm doing a Bodyshell characteristics guide as an update soon, so I wont go into all of them now, but for now I went with a Team Titan Blitz G35 for my new shell. I have heard great things about the stability, and strength.. both things that I would like for racing at the technical small circuit I race on week in and out.
So shell selected, and expertly painted by my mate Ian and lets fit it on the car!
Cutting a shell
I use large scissors to cut the main excess of Lexan, then use curved lexan scissors to do the wheel arches and other intricate parts.
Cutting Body Post holes
Enough to strike the fear into anyone who has turned a beautifully painted shell into swiss cheese as they dont get the holes aligned. The best way to do it is to mark the holes on the clear lexan shell's overspray before you paint it. However there is another good way of sorting it out.
You just need to pop a little bit of black grease, or Tamiya antiwear grease on the top of the bodyposts.

You just then place the shell over and move it gently into position and press down. You will then have 4 nice marks on the inside of your shell that you can just ream out.
When reaming the holes, you want to make the holes larger than the posts so the shell can move around a little (just 1-2mm larger radius) shells should be a little loose to stop tweak.
Final Trimming
Once I have the shell mounted on the car I then trim the wheel arches again to ensure that they dont bind against the wheels. If this happens in a race you will get the shell tucked in and will have to get a Marshall to untuck your shell, chunk foams etc. Its a no no.

I just push in the shell and see if it binds and then trim the arches again.
Sanding the shell

Once you have finished trimming the shell, you want to sand all the edges. Most splits in Lexan appear from nicks at the edge of the lexan tearing into larger splits when it gets bent. I use a Dremel sanding bit and just gently run it over all of the edges, and I file of any sharp edges where the wheel arches reach the sills on the shell, rounding them off so they dont dig into the carpet etc if the shell becomes compressed.
Fitting the spoiler

Next up, time to fit the spoiler. This part is normally a pain as most Protoform shells have a aluminium hex screw and a plastic nut. Luckily the blitz comes with a steel hex screw and a lock nut.
Strengthening the shell
Another trick I have to strengthen the shell and reduce the chance of the wheel arches cracking is to strengthen them with battery tape.

First place some flexy glu (Shoe Goo etc) down over the wheel arches and rear diffuser. Its easy to come by, cheap and is awesome to fix lexan as it bends once its bonded with the lexan.
Then place a bit of tape around the wheel arches and the rear diffuser. Not loads, just a single layer.
Then place a bit of tape around the wheel arches and the rear diffuser. Not loads, just a single layer.

Then add some more glue over the tape. Once you have placed on the glue, you just need to add another layer of Fibre battery tape. The Glue and tape will make a strong weave which is still light.

Finishing touches
Now you just need to cut out the decals and fit them to the shell. I am a big fan of having the Chassis type on the shell. It reminds me of big boys boys racing with the manufacturers names etc.
Now we are finished, a nice new shell ready to race :)


Very useful post, I will subscribe to your blog.
ReplyDeleteGreat tutorial - thanks for the props on the painting - Ian
ReplyDeletewish i'd read this before i started painting mine lol
ReplyDelete