
XRAY T4 Build and Tips Part 1
So I thought it was about time to start sharing my experience and photographs of the T4. So far it's been a largely happy experience fi...
https://www.thercracer.com/2013/02/xray-t4-part-1.html
So I thought it was about time to start sharing my experience and photographs of the T4. So far it's been a largely happy experience first results with the car have been promising but let's start back at the beginning.
When I got my kit I decided the orange just wasn't for me so I sent off the orange parts to be re-anodised. What drew me to the kit was the design for a low centre of gravity as well as friends having success with the car, so despite not being a fan of the colour I still had to try it out.
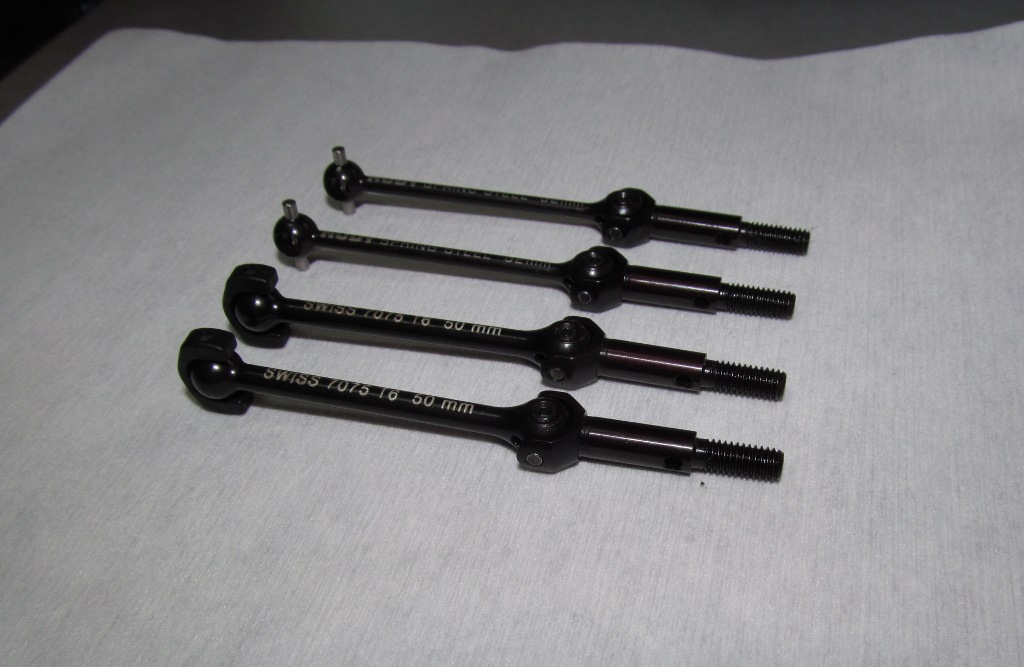
Whilst the parts were away with custom colour anodising I prepped the carbon parts and worked on some sub assemblies. I'll let the pictures do the talking for the most part but you can read about the carbon prep in more detail here.


On to part 2
When I got my kit I decided the orange just wasn't for me so I sent off the orange parts to be re-anodised. What drew me to the kit was the design for a low centre of gravity as well as friends having success with the car, so despite not being a fan of the colour I still had to try it out.
Whilst the parts were away with custom colour anodising I prepped the carbon parts and worked on some sub assemblies. I'll let the pictures do the talking for the most part but you can read about the carbon prep in more detail here.


Great diff, easy to assemble and leak free when done correctly. Unfortunately the large rubber o-ring swells beyond reuse after a short time so some spares are required if you want to change oils.


Those are HK dollars! I use Panaracer spurs and the 2mm graphite spacer from A+ helps it fit a treat.


That's all for part 1, keep an eye out for part 2 coming soon.
On to part 2


