
Xray T3 2012 update
Since my last Xray update blog I have been torn between buying a new speedo or stick with until make more improvement. As it happens the ...

Since my last Xray update blog I have been torn between buying a new speedo or stick with until make more improvement. As it happens the ...

Just an update about my Xray T3 2012 As i said in the shakedown blog, the car drives great. It feels good and smooth, delivers a good ...
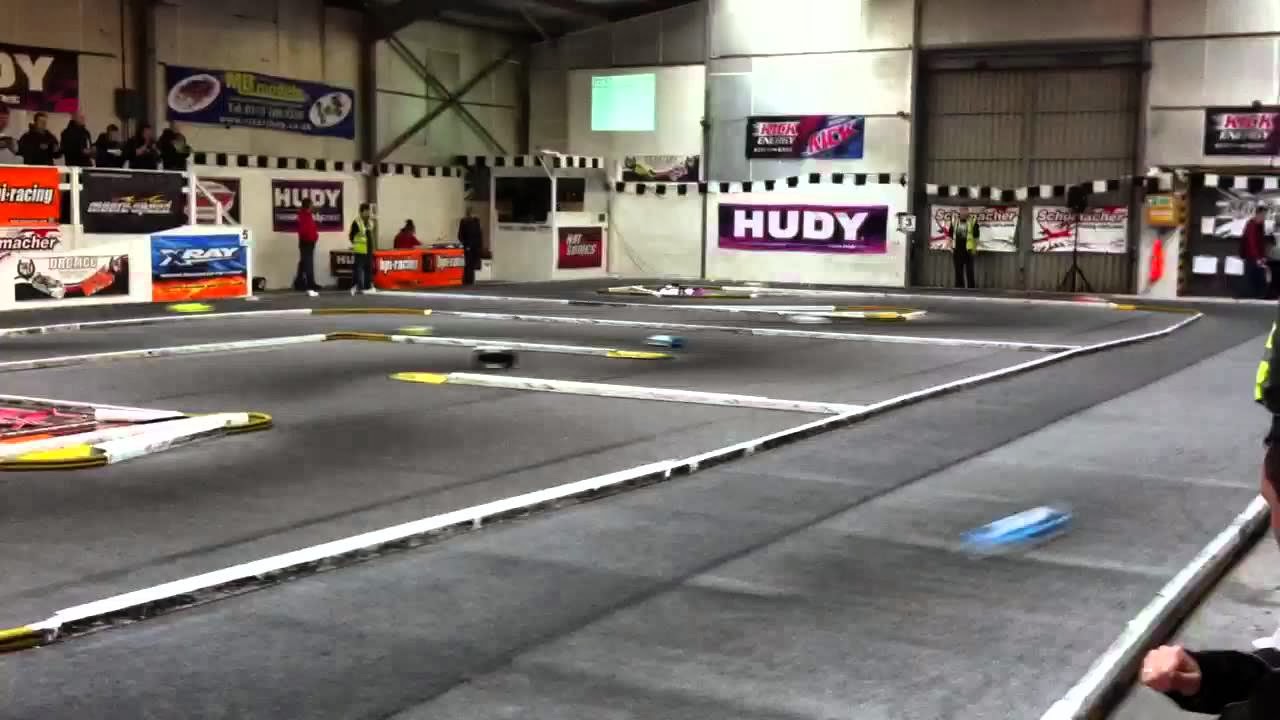
So after the build ( http://www.thercracer.com/2012/04/xray-t3-2012-build-thread-step-seven.html ) I was ready to take the car out on t...

back to step 5 here Finishing off really, shocks, body posts and bumper on. Not really alot to say about this to honest, just bolt...

back to step 4 here Shocks, I like building shocks. its like a science. I'm used to building associated shocks tho which have a p...

Back to step 3 Step Four, Hubs This is where the car start to take shape and look like a car. First step of step five (confusing?) i...

back to step 2 here Step Three, Suspension and steering Suspension arms Not really alot to say about this step, went together wel...

Continuing from Step 1 here Step Two then, Central Transmission, that’s belts, layshaft and diff/axle mounted onto the chas...

Continuing from step 0 Step One: Building the Diff and front spool. This is simple operation, everything goes together nicely. ...

So Step Zero (what it says in the manual), We need the smooth the edges with wet and dry and apply super glue to seal all the e...

Tamiya Gear Calculator Gear Ratio Calculator Drivetrain: 4WD Shaft ...


