
Awesomatix EVO & Aluminium Chassis Build and Review
The new Awesomatix EVO is causing quite a stir in the RC community and the demand for this innovative new kit is through the roof. ...
https://www.thercracer.com/2014/02/awesomatix-evo-aluminium-chassis-build.html
The new Awesomatix EVO is causing quite a stir in the RC community and the demand for this innovative new kit is through the roof. I'm pleased to be able to share with you my build experience of this unique kit.

Building kits is my favourite part of the hobby, normally I spend at least a month agonising over details and drooling over parts, whilst taking my time to fully enjoy the build. This one is a little different for me. I needed this one ready much sooner so I could get used to it before my next big race, the International Carpet Challenge. So with some sleepless nights, some good preparation and a few tricks I managed to complete this kit much sooner.
I'll begin by saying this car is like nothing else, there is good reason it's causing such a stir. This is true innovation and elegant, beautiful engineering design, the stuff that fills my mechanical dreams.
This is a no expense spared build, I've used a number of option parts which weren't included in the kit so I'll point those out when I show them. The plan was to use all titanium and aluminium screws, unfortunately I found the Arrowmax counter sunk screws protruded from the underside of the chassis so I used the kit steel ones there. The bearings are all ceramic from Yeah Racing and rcbearings.co.uk.
Lets start the build!
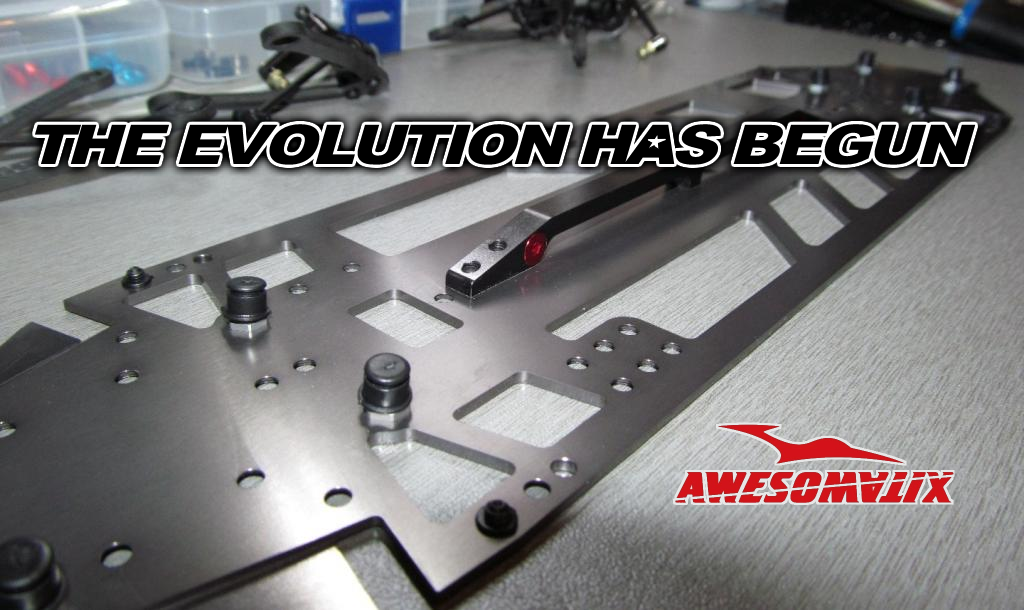
First up I started with the lower deck and installed the droop screw inserts, wishbone ball studs and chassis stiffener. The alloy chassis and stiffener are option parts and all new innovations from Awesomatix. They are intended for carpet tracks and improve response and increase steering.
Awesomatix have responded to customer feedback and the droop screw inserts are now keyed to the chassis so no need to glue them in and a much easier install.
When fitting the stiffener I scratched both contacting surfaces on it and the chassis. Using my scalpel I scratched a hash pattern on each to increase the friction here.
Update: I am now using what I call the Fairtrace method for fitting the chassis stiffener. This means using only the central screw and putting grub screws in all the other holes. It allows the chassis to remain perfectly flat.

Personally I think the chassis looks like something out of Transformers, the question is Autobot or Decepticon? Either way it's beautiful.
Next is assembling the drive shafts, hubs and wishbones. I already had a full set of drive shafts assembled in my spares box so to save time these went in and I assembled all the wishbones.

My kit came with AM06S, the short hubs. This is a common hop up and an expensive one so including them in the kit should be popular. It's worth taking some time here and making sure the hubs move freely with minimal free play.
Update: The kit was meant to come with AM06 and new kits are coming with AM06 not AM06S

At this point the manual says to fit the wishbones and anti roll bars. Since I have worked on my A700L for some time now I know I can fit these parts later, although it is a bit more tricky. So I chose to leave them off, as I'd rather not have them flap around as I build everything else on the chassis and I went on to build the dampers.

When fitting the dampers to the chassis I make sure they slide in and out with the central screw tightened. These ones did not so I removed a little material from the spring retainer pin, as shown in the next photo. If you need to do this take your time and don't remove too much!

Soft springs were included in my kit, another common hop up. Here are the dampers mounted to the chassis.


Then I assembled the bulk head and gear box units before fitting them to the chassis.

I've used my SD1 spur damper which is an option part. When I tried this part out before I found it made no difference to my lap time or feel of the car but I haven't stripped a spur gear since using it, so that's why I will use it again.

The diff here is a GD2 that I already had assembled. If you want to see how they go together please check out my article on the GD2.

I think the steering rack is one of the most beautiful parts of the kit. For the EVO we need to use the shorter ball studs for the steering links.

Here it is on the front bulk head.


And the floating front gear box.
Update: It is important to fit a diff cover on the front gear box. It limits the FFG movement and importantly protects against drive shafts popping out. It can be tricky to get it moving sweetly but it's worth getting it done.

I mounted the bulkheads on the chassis.

Yeah, I like the steering rack a lot.

Now it's time to make the parts to mount the floating front gear box.

As per the instructions I sanded 5mm on each end of the carbon tube a little. Just to roughen the surface and make it grip better.

Care needs to be taken when fitting the central collars as they can scratch the tube. I scratched mine with them so rotated it to hide the scratches underneath.

This is then fitted to the chassis.

It's this floating front gear box which really is the new kid on the block, there is nothing else like it out there. It eliminates torque steer by allowing the front gear box to twist independently to the chassis. It also stops torque transfer from the bulk heads through the top deck as there is no top deck. This means that when the rear of the chassis twists it does not twist the front of the chassis and vice versa, both ends remain independent. The stoppers and adjusting collars allow longitudinal transfer. So when the front of the chassis flexes upwards the stoppers make contact and transfer this to the rear bulk head like a top deck would. Adjusting these means you can choose how much the chassis flexes before it is engaged.


Things really came together now as I fitted the wishbones, anti roll bars and links. The links are from my A700L to speed up the build.

I also fitted the battery mount, bumper and servo at this stage. I'm using the floating servo mount here which is an optional part.

The body shell supports here are from Yeah Racing.

The bumper is the stiff kind from John's BSR racing, available from Awesomatix USA.


So all that was left to do was fit my electrics and admire my handy work.


Here are a few tips on getting the floating front gear box working sweetly.
Make sure the battery is mounted far enough out that it doesn't interfere with the central adjusters at the limits of FFG movement.
Check the central adjusters and front stop when the car is fully loaded and sat on it's wheels. Mine was nice and smooth on the car stand but needed adjusting when placed on it's wheels.
The FFG should move easily from side to side and return to centre when released. If it does not check my tips above.
Overall
Pros
In terms of the build I've never built anything like it before. The quality is outstanding and the fit of the parts are excellent. I didn't have to shim anything that wasn't in the manual and all the hubs etc have minimal slop. Working with such high quality components is a joy and just makes things much easier to do. Without a doubt this has been the most enjoyable build I've done.
Cons
The only complaint I have with this kit is considering the price and that this is as top end as a kit gets then the floating servo mount and GD2 should be included and should not be option parts. In defence to this point a full set of anti roll bars are included.
Track Test
On the track I was amazed again, although I need to alter my setup to get more steering and rotation the feeling with this car is like nothing else. The floating front gear box has really smoothed out the steering but also the acceleration and braking. The aluminium chassis makes the car very responsive. It feels like the car follows every movement of my hands, instantly and predictably responding to input. At the same time the car is forgiving and very predictable, once I got used to the feel it was like I could just imagine where I wanted the car to go next and that's where it would go. I've never felt so connected to a car before.Conclusion
I have to agree with all the buzz surrounding this car on the net at the momentIt really is an evolution of touring car design and I'm gobsmacked by it's innovation, quality and feeling on the track. Certainly one new car where the common complaint of 'they haven't changed enough' can't be applied. Awesomatix have been innovators since they entered the market, I can't wait to see what the next evolution could be.

Check back for more track updates, and set-ups and follow our facebook page for the latest news.


