
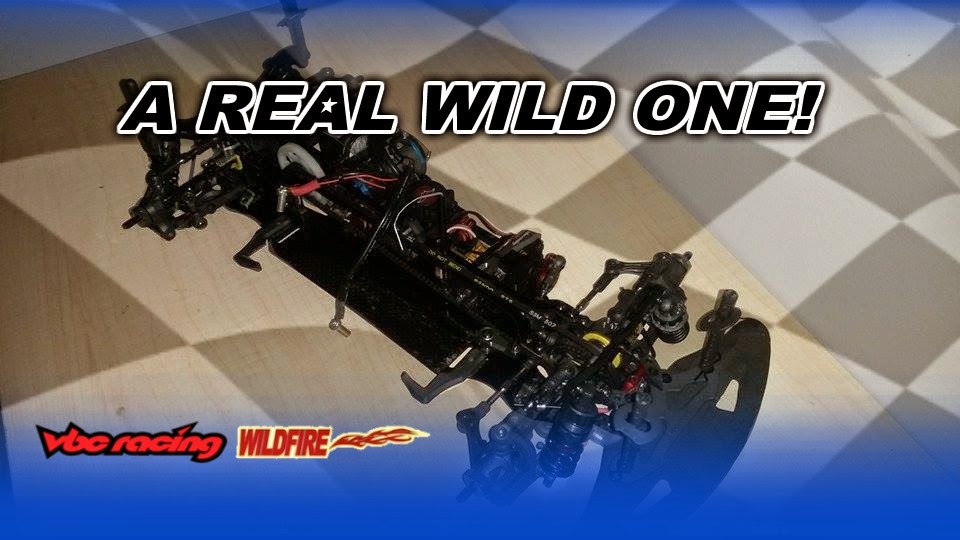
Vbc Racing Wildfire D06 Build and Review
At the end of 2013, I was offered a team drive for a big distributor company in the UK . The distributor is mainly involved in the ...
https://www.thercracer.com/2014/05/into-wild.html
At the end of 2013, I was offered a team drive for a big distributor company in the
Roughly the same time, a manufacturer based in Hong Kong were looking to break into the UK market with their new car. The VBC Wildfire D06
During negotiations, some sample kits were sent to us and I was asked to build, review and evaluate the car.
The Wildfire roughly follows the current trend of modern touring cars. Although most people would not consider this a ‘revolution’ , there are a few subtle tweaks which VBC have developed themselves which lead them to belive that they will have the ultimate edge in the market.
Having driven exclusively HPI/Hotbodies cars since 2006, It’s nice to try a different brand and see how they compare. My current car (TCXX) has been heavily modified to keep up with the current crop of cars. Although it was still capable to producing good results, I always felt I was being left behind.
My build review will basically cover items of interest I found in the build. I’m sure not many people want to read a step by step build! Every racer has a unique way to build a car with their own methods and tweaks
Initial opening

top attached in a very fancy drawstring bag. I'm not sure why they chose to partially build something that requires immediate dismantlement, but it looks like there is a great care of attention into this kit. This needs to be disassembled before you build the car properly. The drawstring bag is good for carrying the car to the track. It frees up your hands to carry other items!

This kit is for experienced racers who have built a few kits in their time. There are a few items not explained thoroughly and will catch a novice out. There is no mention of tools required to build the car. I would say this shows the market they have catered for

A nice touch is that you get a pack of 0.1, 0.2 & 0.3mm shims included. The car doesn’t require many shims, but shows that they know what racers want in a kit
Step 1
Not much I can say about this. Chassis prep is a technique that needs to be perfected. I actually got a friend of mine to prep it for me. As you can see by the pictures, he does an amazing job!


Step 2/3
I recommend that you sand the back of the gears with 1200 grit paper, this removes the moulding flash. Most gear diffs I have built required removal/fitment of shims to get a perfect diff feel. I fitted all the shims, tested it and its silky smooth. I don't recommend filling the diff completely as this can blow the seals. I fill until the pins are submerged. Start with the kit supplied 1000cst oil and tune your setup from there
Step 4/6
The car is supplied with split suspension blocks, I recommend resting them on a droop block while building to ensure they sit straight

Step 7/9
Ensure this is built properly as tight steering will ruin the handling of the car. I used a 0.2mm shim to get perfect steering (pointed out in the picture in the manual). Use beeswax/lip balm on the turnbuckle threads of enable a smooth fit

Step 14
I really like the belt tension adjustment underneath the car. You can adjust them without removing anything else. Simply loosen the 2 screws on the underside, move the yellow cam to your desired tension, then tighten those screws. Job done! No issue to pulling bulkheads apart and resetting the tweak in the car


Step 18/21/22
Normally, you require constant fitment/removal with different shims (small shims are included in a different bag) to try to achieve smooth acting arms. they should drop under their own weight and not stick. It was perfect 1st time!
Step 19/23
The driveshafts are prebuilt. I rebuilt them as I was unsure if they were lubricated
Step 24
I found there was a small amount of sticking when testing the smooth movement. this was caused by the lower screw on the C hub. I sanded the screw head slightly
Step 27/28
The shocks went together very well. I initially struggled to achieve a consistent rebound between all 4. I changed my method and am now able to get the perfect rebound
Step 32
Although this kit is aimed at experienced racers, I would not advise a direct servo horn for indoor use as the barriers and break servos. I used a Tamiya high torque servo saver (51000) with a 3racing alloy arm

Overall, This was a very nice kit to assemble. There were few small niggling issues, but not a big concern. I fitted ceramic bearings and my own shock oil as I use a different brand

My 1st car was built for carpet racing. My current class is 17.5 blinky. It’s a really competitive class and mainly focused on driver skill
The 2nd car was built mainly for the 2014 BRCA national touring car championship. I chose pro stock (13.5)
1st carpet run
I had the car just in time for the final round of the Chippenham winter indoor series (CWIC), I needed to get a general feel for the car before I raced. I had a fair shot at the 17.5 blinky championship title, didn’t want to throw it away with trying to learn a completely alien car


Race Video
This video shows my run in the final. I put a PF Mazda6 GX on the car for the final and hated the way it drove! I always use a PF Mazdaspeed6 for carpet racing, just wanted to see what effect it had on the car. As you can see, it was still enough to win the final!
At the CWIC 2 days later, I was able to qualify 2nd in the A final. A 2nd& 3rd were good enough to net me 2nd overall in the championship. A fitting start for the D06 campaign
Tarmac setup

I am a club member of Mendip R/C raceway. A very well run club with ever improving facilities. They have recently reprofiled the kerbs which don’t throw a car 20ft in the air when you grab a little too much. I race here at most of their club days and have a few private days to test in preparation for the BRCA national championship
I used the kit springs and found they just made the car very sluggish. They work great on carpet in blinky setup, but not for outdoor boosted. The kit shock absorber is a big bore design which is developed with a shorter spring to be fitted. This allows you to have lower shock towers, allowing a lower centre of gravity.
If you fit regular springs, the lowest ride height you will achieve is 7mm, not exactly an ideal ride height. Doing some research on Rctech.net lead me to a link to enable regular size springs to be fitted with parts from the previous car (Wildfire D05)


BRCA West London Race


Thankfully, I have a wet car! Pole in the C final was the fruit of my efforts. My goal for this season is to try to make the top 20. 21st at my 1st try was pretty good. Errors on my part cost me a podium position (4th in the C final overall). The car was faultless the entire weekend!

Overall
As I have been driving the same manufacturer for many years, a new car can normally be a daunting prospect. It may not be as good as your old one, the setup can be a pain to get right and you may actually go slower. With the D06, those fears are non-existent!
The overall quality of the kit is exceptional. I have spoke to racers who build the previous car (D05), this is a significant improvement. The manual is very good, very precise and clear. If you lose it, its avaliable from VBC's website to download, no worries! The quality of the parts is second to none, nothing required major tweaking or reworking. Everything went together perfectly and there is no slop anywhere.
The 1st drive was a big shock. The car gives me so much confidence and begs me to drive harder. It is also sensitive enough to adjustments, you know when you have made a wrong change. When you get the setup right, it really feels great!
I can only sing its praises so far, you have to experience it for yourself, you will be pleasantly surprised!
 |
| The VBC Wildfire D06 gets a RCRacer A* |


