Additive rear toe is something that you will find on the majority of modern 1/10 touring cars. Whilst in in itself it is nothing new as it has been around for decades. It is something that is now in vougue with the latest chassis designers.
Tamiya has their own set that is compatible with the TRF420 and TRF420X. (And possibly other chassis, but I haven't checked those).
I have played with this in the past with a custom hub for the earlier TRF cars along with my simple TT02 Rear toe guide. So I thought I would eventually give it a try on my TRF420X.
The Tamiya hop-up part contains a lot of custom part especially for this conversion. As you would expect, this ensures it isn't cheap.
The caster blocks (C-Hubs), are made from high grade, strong aluminium. These have no caster (0deg) unlike the standard front parts (4 deg). They are also unique as you have a lower aluminium plate that you need to attach. This plate has a ball bearing that will ensure a very smooth movement of the upright once it is mounted.
The upright is in two parts, the main hub is made from aluminium. You can see it has a very different fitment to the standard upright. the upper and lower sections have a raised nub that you have to mount upwards into the Caster block, and the lower nub sits in the bearing of the lower plate.
The next stage of the build was very challenging. the lower caster plate is attached once the upright is positioned (Along with some shims). You have to twist it around to slide into a recess.. this is not easy and it requires a fair amount of force, once you do this the plate locks into place and you add a couple of 2x5mm screws to firmly lock it in place. (Note I swapped out the steel hex ball connectors in this build for the lighter Fluorine option parts).
Now it is time to attach the upright arms. These are made from carbon fibre and are attached with 2.6x6mm screws. This allows you to adjust the height of the arm easily, this is essential to easily adjust the amount of toe gain or loss in a corner along with spacers under the arms ball connector.
The final assembled part is 10.67g... chunky!
The kit upright is 2.87g so you are looking at an extra 15.6g of weight once both rear uprights are replaced. (Note it will be heavier if you use the kit steel ball connectors).
The inner links are mounted on the underside of the rear bulkhead on the TRF420X. In the 420X manual it suggests you do not fit any spacers, I however added 2mm as I wanted to explore a wider range or additive toe gain.
As I was going to run toe gain in the corner I was keen to ensure that I would benefit by having no rear toe on the straights. The rear of the car was set to XA-C to provide 2 deg of rear toe. To achieve this I had to set the turnbuckles to 18.18mm
The rear was now set at 2 deg. If you look at the angle of the inner link to the outer upright it is extreme. This setting gave me a whopping 1.5 deg of camber gain when I sank the chassis to the floor.
%20(Blog%201920).jpg)
This is quite a big gain, I normally run a fixed amount of 2.5 deg rear toe so I know it would provide a more locked in rear end, but it is also important to understand that your car doesn't always ground out on a corner so the real world gain would most likely be lower.
With the car all prepped and ready to race at Micc I was excited to see how it would perform.
Track test
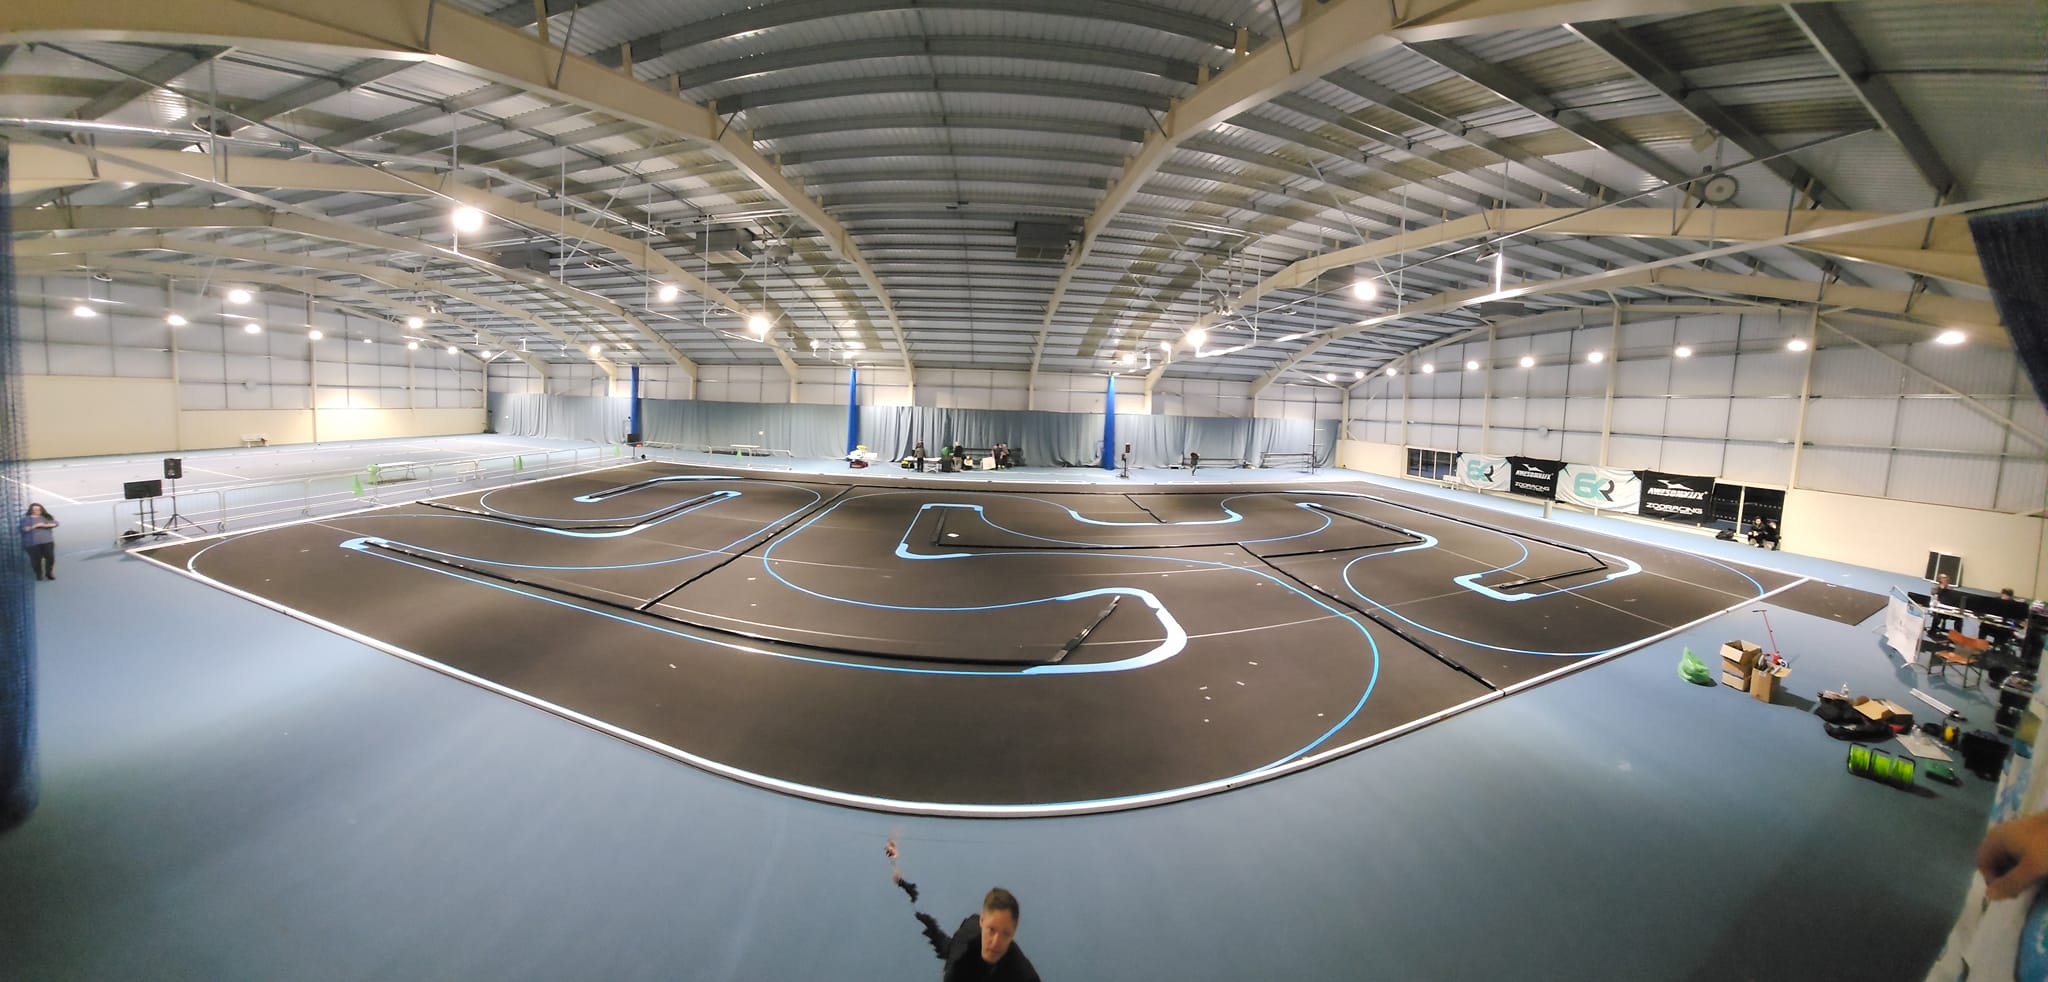
Micc is a huge carpet track with a lot of grip.
The layout this time was much more technical than normal, which is something I prefer so I was already excited to take the TRF420X out for a run.
Unfortunately practice was a bit of a waste of time as the sensor cable was loose in the car and it was very laggy on acceleration. The car seemed very planted but I was not going quick enough to know if it was a good thing.
After sorting the cable it was time to take out the car and give it a push.. The flowing technical track was great fun to drive. Importantly the rear was incredibly locked down no matter how hard I tried to break grip. The main issue was a lack of steering as the rear was too sticky.
I made a few tweaks, moving the rear shocks outwards on the tower and going to a harder spring. This made a good difference. I had more steering out of the corner and the rear was still locked in.
For the final practice I reduced the camber angle by adding a 1mm shim under the ball connector on the upright arm. This would give me less toe gain (Approx 1.25 deg on full compression). This worked well and I was over 8 seconds faster in the final qualifying session.
For the final I was going to reduce the inboard toe to 1.5deg instead of 2. This would give me more speed on the large straight.. Too much socialising in the pits put paid to that plan, but I was still keen on pushing harder in the final as I had not found the edge of grip. Unfortunately it wasn't to be as I was knocked about a bit and posted my worst time of the day due to a loose front shock tower after the collisions.
Overall
The rear toe kit is definitely a part that I am happy to have available to tune my TRF at the track. I have not raced it enough to know if it is essential, but the amount of extra rear grip is really noticeable.
The extra weight is something that you will need to consider.. as is the price. The quality of these components is superb however. The aluminium is of the highest quality, and after every run I checked to see if there was any movement or change in the settings. It was perfect every time.
I fully intend to run it again, I am keen to try combinations of excessive corner toe gain and see how low I can have the resting toe in on the straight.

%20(Blog%201920).jpg)
.jpg)
%20(Blog%201920).jpg)
%20(Blog%201920).jpg)
%20(Blog%201920).jpg)
%20(Blog%201920).jpg)
%20(Blog%201920).jpg)
%20(Blog%201920).jpg)
%20(Blog%201920).jpg)
%20(Blog%201920).jpg)
%20(Blog%201920).jpg)
%20(Blog%201920).jpg)

%20(Blog%201920).jpg)


